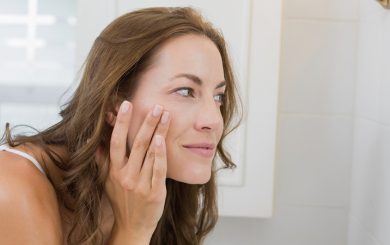
Are you a skincare fanatic? If so, chances are that you already know of gua sha! This is a super popular, practical and handy little tool that you can use no matter your skin type. Aiming for flawless, contoured, or sculpted face? Want to look like you lost a pound or two while also aiming for an irresistible complexion? If you want to give yourself a mini skincare treatment and you want to upgrade your skincare tools, keep on reading. Here is how to gua sha.
Related Posts


What is Gua Sha?
A gua sha is a flat tool that has a unique shape, reminding some people of a heart symbol or a cloud. It is made of a semi-precious stone that one can use all over their face and neck area. Although it just became popular online, its roots and origin date way back! In fact, did you know that there was a face-scraping technique in Chine, called gua sha? Once translated, it stands for ”press and redness.” This is in relation to the redness that is obtained through scraping and the use of this tool encourages the skin to heal itself. By using gua sha, one will combat any skincare issues while pressing the tool into their skin.
How Did It Become Popular in the Beauty Industry?
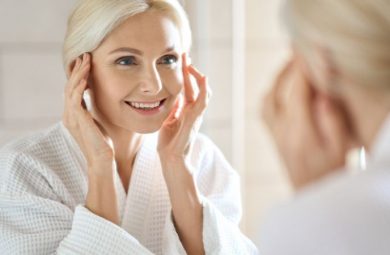
You have probably seen this trend all over social media. It became popular two to three years back and has been with us ever since. You can thank YouTube videos, ads, TikTok, as well as Instagram stories for making gua sha the main topic. Every beauty guru or esthetician has talked so highly about skin rollers, jade rollers, as well as gua sha. Also, people who are into K-beauty have made this trend popular.
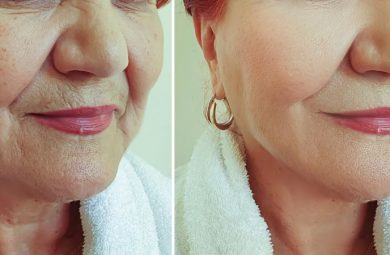
Gua Sha Skin Benefits
There are several benefits. Some of them are:
- Lymphatic drainage. If you want to you can get rid of puffiness, swollen skin, fatigue and unevenness, then using gua sha is perfect. Lymphatic massage will help you get rid of any toxins that are in your skin.
- Acne and acne scars. Gua sha helps by bringing fresh blood to the surface with frequent pushing and pressing, and you will experience new and plump skin, free of acne scars.
- Dark circles and dull complexion. Since it can improve your blood circulation complexion it can also give you a youthful look, along with that true glow from within.
- Smaller wrinkles or fine lines. This routine combats stiffness and defines aging. It helps with spots or uneven stiffness too.
- Contour your jawline. The more frequent you are, the better the results. You will experience a smaller chin, defined cheekbones and a prominent jawline.
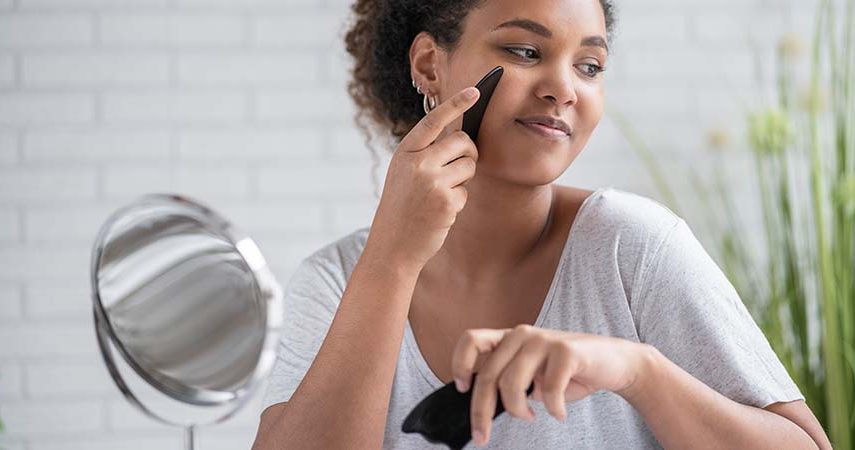
Step-by-Step Guide on How to Gua Sha
Always wash your skincare tools and your skin (a clean base along with sanitary tools is a must-have). You can also leave your gua sha in the fridge for two hours, so it cools down your skin and soothes it as you press it on. Here is how the process should go.
Step 1: The Neck
Use the curved side of your tool and place it underneath your neck and start massaging upwards toward the jawline. Never drag your skin down. Use short and sharp pressing motions on all sides of your neck.
Related Posts
Related Search Topics (Ads)
Related Products
Step 2: The Throat
For this area, use the upper side of your tool since it makes a lot less pressure on top of your skin. Use it to sweep the tool upwards following the curve of the neck. Hold your neck firmly with one arm like you are tugging your skin, but pull upwards with gua sha.
Step 3: The Jawline
Place the tool on the side and use the heart-like point across your jawline. Start at the chin and move the tool upwards towards the ear, only making pressure on your jawline. Do 10 to 15 pushes on both sides.
Step 4: The Cheeks
Use the longest side of gua sha for your cheeks or your cheekbones. Place it underneath your nose and drag from that point upwards, aiming to finish around your hairline. Be gentle with this area since it is prone to redness.
Step 5: Underneath Your Eyes
Use the long curve of your tool and place it underneath your eye. Use gentle pressure to sweep outwards towards the hairline. In case your tool is too big for your under-eye area, we recommend getting a mini-sized version.
Step 6: The Forehead
Lastly, by using the longest side of the gua sha, pull the tool upwards from just above the eyebrows and work it toward the top portion of your head.
How Often Should You Do It?
Most skincare experts recommend that you do gua sha at least three times a week to maintain results. For most people, doing this at night before going to bed is the best solution.
Related Posts
Also, make sure to clean your tool after each use. A dirty tool can cause several skin problems, such as acne or breakouts. Clean it in soapy cold or lukewarm water and towel-dry it.
So, ready for defined skin, prominent cheekbones and a sharp jawline?