Sculpt and Define
With the right amount of contouring, you can highlight the best of your features while altering ones that you don’t love. Once you learn how to contour with foundation you can slim down your nose, highlight cheekbones or make your jaw angular.
Related Posts


It might seem like complete magic, but contouring is a technique that’s been used by celebrity makeup artists for years. It takes a little practice and the right blended face makeup to achieve. Contouring with foundation is the most natural way to achieve a sculpted face.
The Foundation of Contouring
You’ll need three foundation colors. One should match your face perfectly while the other two are used for highlights and shadows. One color should be two shades lighter than your base foundation, and the other foundation should be two shades darker.
The Brushes
Along with the three cream foundations, you’ll need a few brushes. One foundation brush should be slightly pointed at the tip for angling and application. The other brush is used to merge the foundations and should be flat. Lastly, you’ll want a tool for applying a powder to set the foundation. That also means you’ll need a setting powder.
Here’s the list:
- Foundation matching skin tone.
- A foundation two shades darker.
- Another foundation two shades lighter.
- Setting powder.
- Flat, pointed foundation brush.
- Flat blending brush.
- Large powder brush.
Once you have all your tools, apply the base foundation. Don’t worry about maximum coverage. This is the base that will be covered with more foundation as well as powder at the end.
Related Posts
Related Search Topics (Ads)
Related Products
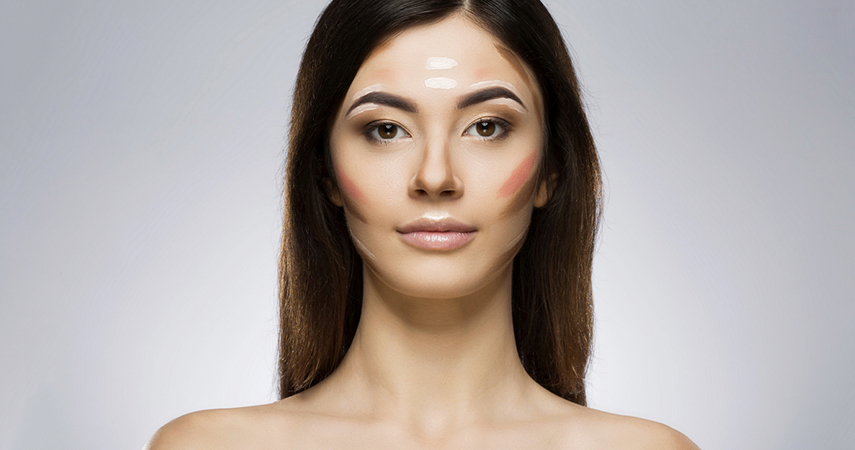
Map Your Face
With the lighter cream foundation, apply it to all the places that you want to highlight. These are the high points of your face and where you’d like to look bright.
The middle of your forehead, down the length of your nose, under the eyebrows at your brow bone and along your jawline. Apply this brighter color all at once, but do not blend it into your skin next.
The dark foundation is next. Apply it to the hollows of your cheeks, under the cheekbone. Add deeper foundation to each side of your nose to make it appear smaller. Apply it under the jawline to make it more defined and in the crease of your eyelids to define your eyes.
Once you’re finished with mapping your face, you might think you’ve done it wrong. It won’t look great until it’s merged beautifully.
Blending and Setting the Foundation
With a circular motion, spread the foundation into the skin with your flat-topped blending brush. You can use a damp foundation sponge here if you prefer. The contouring will instantly look better, and you’ll see the impact of the shading and contouring immediately.
Related Posts
Once the foundation is done, it’s time to set it with powder. The powder helps to fuse the contouring more naturally in the face, and it sets the work you’ve done, so it’ll last longer.
If you’re newly learning how to contour with foundation, you may have gone a little heavy-handed. Practice with smaller amounts of foundation first before working up to a full face.
Finishing Your Makeup
The foundation is just the base. You’ll need to apply eyeliner, mascara and lipstick to complete your makeup. A little pop of color on the apple of the cheek as well as a bit of bronzer can really make you look like you should be gracing the pages of a magazine like your favorite celebrities.
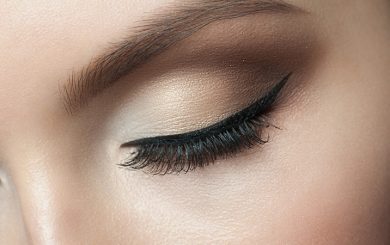
Learn about the best eyelash and eyebrow serums.