Long gone are the days of au-naturale brows, and who can forget the pencil-thin over-plucked eyebrow? It’s safe to say that we’ve been overlooking our eyebrows for decades.
Related Posts

Eyebrows should be the focus for any makeup look from natural to glam. Nowadays a strong brow is the way to go, with Instagram giving us major brow-envy with “on fleek” precise brow shapes.
Eyebrows have a beautiful way to frame your face and enhance your natural features. If you’ve been over-plucking your brows or even neglecting them, groomed brows aren’t difficult to achieve. Discover how to fill in eyebrows that look natural and frame your face.
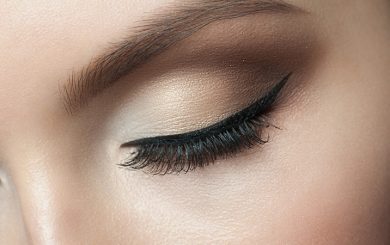
Shaping your eyebrows is an important step to enhance the most prominent facial feature—your eye shape. Think about it, our eyebrows are the outer perimeter of our eyes and when they are shaped and defined it further enhances them.
Find out how to fill in eyebrows, sparse or not. We’ve listed beginner steps to help you achieve your brow-envy goals!
Beginner Friendly Eyebrow Products
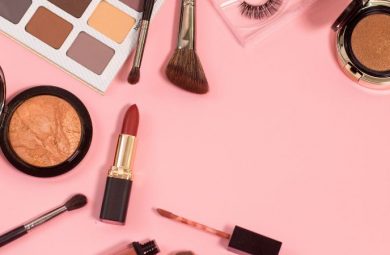
There are plenty of products in the market to help fill in your brows to easily create a fuller defined look. From brow powders, pomade or pencils, each product helps to achieve a different look.
A precise and fleek brow can be created using an angled brow brush and pomade. The whipped and mousse-like texture of the brow pomade is easier to work with once you’ve practiced a few times.
The pomade easily glides onto the brows and stays in place all day with a waterproof finish. Needless to say this is the one product that will stay during the hot summer months or at the gym.
Brow powders work similarly as pomades but are more natural-looking. Powder provides a natural finish and suits those with thicker eyebrows.
The best eyebrow products to get started with are micro brow pencils. These create natural hair-like strokes to build up the color intensity. The thin tip easily fills in any sparse areas that may be difficult with an eyebrow brush.
Finish off using a clear eyebrow gel to help keep each hair in place all day.
Measuring Your Eyebrow Shape
After you’ve picked your ideal brow product, analyzing your eyebrows before you start filling them in will help create the best shape. Misshapen brows from over-plucking is often the main cause of thinning and sparse areas.
Related Posts
Related Search Topics (Ads)
Related Products
Start by measuring the beginning of your brows by lining it to the corner of your nose, use a pencil to help guide you. It should be directly proportioned and should not exceed towards the outer corner of your eye. Any brow hair that exceeds the edge should be gently plucked away.
When it comes to the arch, keep it similar to your natural shape. When you start to fill in your brows, a pomade or pencil can easily create a defined arch by applying product to the top portion of your brow in a straight angle.
The eyebrow arch can be measured by directly lining the pencil to the center of your eye at an angle. The tail end of your eyebrows should be measured from the corner of the nose to the end of your outer eye, it should not exceed past the edge of your eye.
How to Fill In Eyebrows, Step-By-Step
When it comes to filling in your brows, you want to use a product that’s 2 shades lighter than the color of your hair for a natural effect.
Keep in mind that not all browns or blondes have the same hue, some can appear warm toned which can look unnatural depending on your complexion. Go for a neutral or a cool toned brow product that is dark enough to fill in your gaps.
What You’ll Need
- Brow Pomade or Brow Pencil
- Angled Brow Brush and Spoolie
- Clear Eyebrow Gel
- Eyebrow Stencil
- Tweezers
Steps
- Comb your eyebrow upward and to the side where the natural growth is, using the brow spoolie.
Related Posts
- Using tweezers and a large mirror, look forward and evaluate if any excess hair needs to be removed. It’s easy to overdo this step, pluck only those which stand out.
- Taking your angled brush and your choice of brow pomade or pencil, start by creating small strokes to fill in sparse areas. Making sure to create ‘check mark’ flicks against your brows for a natural look. For a sharp angle use an eyebrow stencil for easier definition.
- Go over your eyebrows again with the spoolie to comb through and blend in the brow product.
- To set your eyebrows in place, use a clear brow gel for a budge-proof finish.
- Double check both brows to make sure the shape is similar.
There you have it! Tasteful eyebrows can easily be created using these beginner friendly tips and techniques without the fuss.