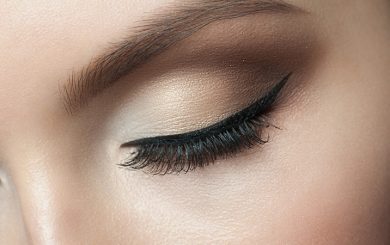
A perfect classy look is not complete without the elegant winged eyeliner. The look is incredibly popular today, as it was in its inception in Ancient Egypt.
The queen Cleopatra was often depicted sporting this flattering makeup; she popularized the look even though she did not invent it. Ancient Egyptians believed that applying cat eye, also known as winged eyeliner, is a way to ward off the evil eye and protect yourself from harmful magic.
Related Posts


During the 1950s, Hollywood stars applied the catty eye and broke hearts all over the world, but Brigitte Bardot and Sophia Loren were the most popular winged eyeliner-sporting ladies on the big screen. However, one queen forever immortalized the look – the legendary Elizabeth Taylor in her role as Cleopatra!
Nowadays, everyone is working the look. Whether just to accentuate the eyes or to make a bold statement, winged eyeliner is not going anywhere as it is one of the most wearable looks no matter the occasion or the amount of other makeup on your face.
Liquid vs Pencil Eyeliner
Pencil eyeliner is probably the first one you encountered as a child and may have clumsily used it to frame your eyes and maybe even attempt to create a wing. All the 90s kids used this at some point and found the hard way just how smudgy the pencil eyeliner is. You go to school with perfectly lined eyes and come back home with undereye circles darker than the pits of hell.
While traditional pencils can create a good wing, you need to keep them super sharp and not press too hard on the skin. Kohl pencils are amazing for accentuating the lash line, but they are just not sharp enough to create a perfect wing.
Liquid eyeliner, on the other hand, is the perfect tool for achieving this iconic look. These liners can come in pencil form with a felt-tip, or in a small vial with a skinny brush, which works best when it comes to cat eye. Now, it does take a lot of practice to master the use of liquid eyeliner, especially the one with a tiny brush, but the results you get are by far the best.
If you are transitioning to liquid, we recommend starting with the felt-tip pens and working your way up to the brush as you become more comfortable.
Related Posts
Related Search Topics (Ads)
Related Products
Winged Eyeliner – Step by Step
How to With a Pencil Eyeliner
Time to apply the eyeliner to achieve the perfect winged look! If you are using a pencil, start by priming your eyelids. This will not only allow the eyeliner to pop but it also makes clean up more effortless if you mess up. Next, choose your weapon of choice.
We recommend a creamier pencil as it will slide over the lid more easily and allow you better control over the product. Think about the size of the pen as well, since the thickness of the line will depend on it.
Start lining your eye. Begin in the inner corner and drag the pencil along the lash line. Do not pull the skin on the outer edge of your eye to make application easier; this can cause premature wrinkles and warp the end result. Use short strokes to achieve the best results.
Start with a thin line and thicken it as you move towards the outer corner. Then, create a wing. Draw a guideline and fill in the blank spots as you go. Go over the same area again if you need to fill in the gaps and ensure that the line is perfect. Sharpen your pencil if necessary to achieve a thin wing.
How to With Liquid Eyeliner
Winged eyeliner will turn out considerably better if you are using a liquid eyeliner formula. However, it does require more practice before you become a pro.
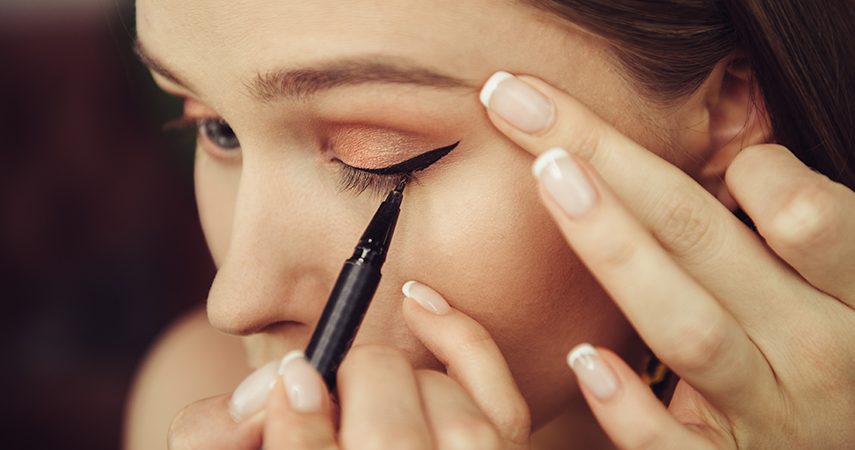
As with the pencil, start in your inner corner and create a thin line along your lashes. Stop just before the outer corner. From here you have several options.
Related Posts
You can either freehand it and hope for the best, or use some sort of guide to help you achieve the perfect wing. Credit cards, cotton swabs, spoons, or anything flat can help you here. Line your straight object along your eye, making sure to “connect” the outer corner with the end of your eyebrow. Then place a dot where you want the wing to end and draw a straight line to connect the dot to the outer corner of your eye.
From there, you will want to create an elongated triangle by drawing another line just above the one you created, again connecting the dot to the point a little more to the center of the eye, but still on the outer corner. Once you’ve got your outlines, fill it in with the eyeliner and you’re done!
You can play around with the size of your wing and the thickness of it. For a bolder look, make the triangle thicker and the wing longer, and for a subtle finish, just thicken the original line you created to make it look less harsh.